Contents  >

Working with the Box Model

IBAT Next Course

Learning Goals

At the end of this Tutorial you will be able to:

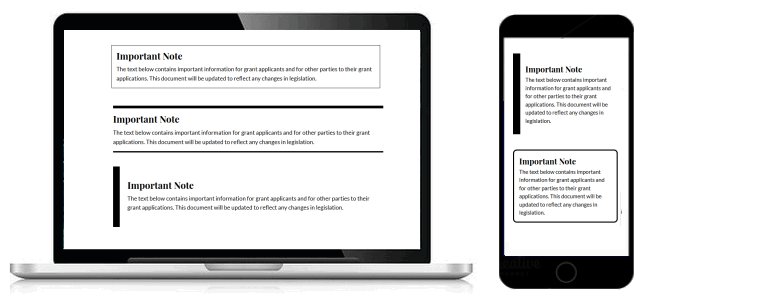
You can view a finished version of this project by clicking the image below.

GitHub image

Contents

About the box model

Your two work files: base-6.html and base-6.css

Box model: Browser resets

Adding sample text boxes

Styling your text boxes

Updating the <head> of your web page

Validating your web page

Validating your stylesheet

Uploading your two files to GitHub

Further resources

About the box model

In HTML, every element on a web page can be considered as a ‘box’. The words ‘box model’ are used when describing the design and positioning of elements.

In the box model, every HTML can be viewed as containing the following items:

For padding, borders and margins, you can use the same value for all four box edges, or assign different values to each individual edge.

Tutorial RWD: Media Queries

Your two work files: base-6.html and base-6.css

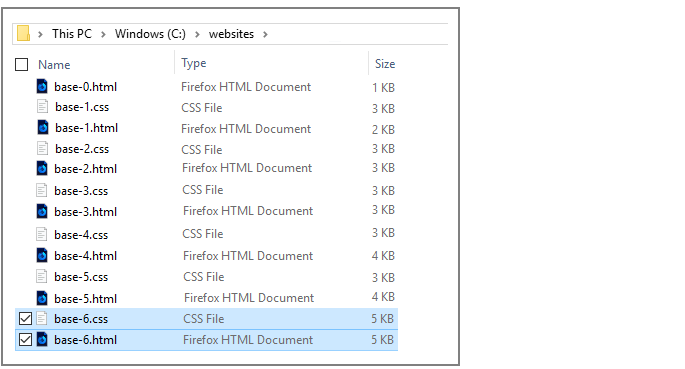
In this Tutorial you will work with these two files:

First, let’s edit the HTML file from your previous Lesson:

  1. In your text editor, open the file named base-5.html.
  2. In the <head> of the base-5.html file, change the title as follows:  
    
    <title>Responsive web page with highlighted boxes</title>
    
  3. Also in the <head>, change the description as follows:  
    
    <meta name="description" content="A sample responsive web page with examples of text in highlighted boxes.">
    
  4. Also in <head>, change the stylesheet link as follows:  
    	
      <link rel="stylesheet" href="base-6.css">
    
  5. At the end of the file, just before the closing </body> tag, copy-and-paste the following new text four times:
    
       <div class="important-note-1">
         <h3>Important Note</h3>
         <p>The text below contains important information for grant applicants and for other parties to their grant applications. This document will be updated to reflect any changes in legislation.</p>
       </div>
    
  6. Use the File | Save As command to save your HTML file with the following new name:   base-6.html
  7. Switch to the base-5.css file, and use the File | Save As command to save the file with this new name:   base-6.css

You are now ready to work with your new web page (base-6.html) and stylesheet (base-6.css).

Box model: Browser resets

Before continuing, you need to add the box-sizing: border-box rule to the browser resets section at the top of your CSS file:


/* ==== BROWSER RESETS  ==== */
* { padding: 0; margin: 0; border: 0; box-sizing: border-box; font-weight: normal; font-size: 16px }

body, html { height: 100% } 

body { max-width: 1600px; margin: 0 auto }

Adding sample text boxes

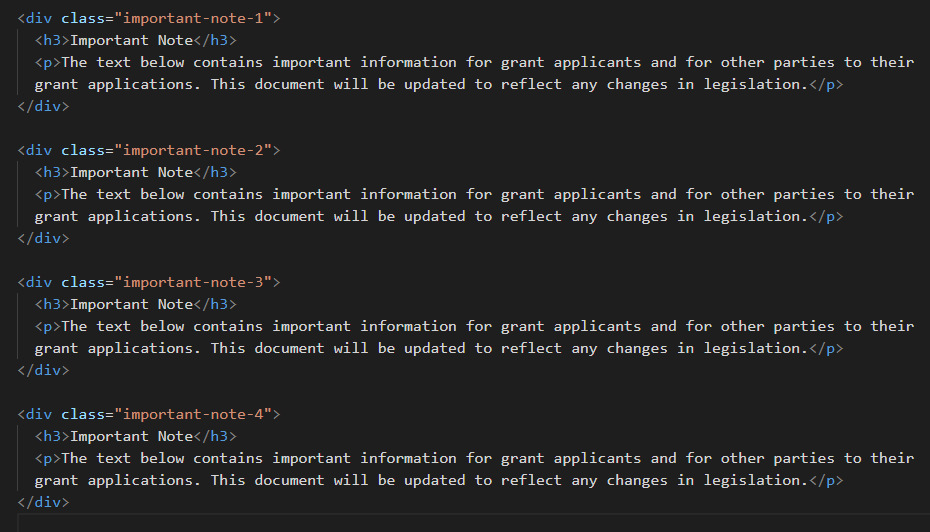
Follow the steps below to use the <div>...</div> tag for adding samples of 'boxed' text to your base-6.html file.

  1. Open your text editor. At the end of the HTML file, just before the closing </body> tag, copy-and-paste the following new text:
    
       <div class="important-note-1">
         <h3>Important Note</h3>
         <p>The text below contains important information for grant applicants and for other parties to their grant applications. This document will be updated to reflect any changes in legislation.</p>
       </div>
    
  2. Repeat this copy-and-paste action three times. You should now have four samples of text blocks within of <div>...</div> tags.
  3. Re-number the last three samples you pasted. The div class names of the four text blocks should now be as follows:   important-note-1
    important-note-2
    important-note-3
    important-note-4
      In your text editor, the HTML file should now look as shown below. Tutorial RWD: Media Queries
  4. Save the HTML file and view it in your web browser. It should look similar to that below. Tutorial RWD: Media Queries

Styling your text boxes

Follow these steps to add a range of CSS styles to the four samples of boxed text in your HTML file.

  1. In your text editor, switch to your base-6.css spreadsheet file. At the end of the file, add the following new CSS rules.
    
    /* ==== TEXT BOXES ==== */s
      .important-note-1 { 
          margin: 42px 0 42px 0;
          padding: 14px 14px 14px 14px;
          border-style: solid;
          border-width: 1px
      }
    
      .important-note-1 h3 { margin-top: 0 }
    
      .important-note-1 p { margin-bottom: 0  }
    
    
  2. Save the CSS file, and view your web page in your web browser. You can see that only the first of the four sample tet boxes has been updated with your new styles. It should look similar to that below. Tutorial RWD: Media Queries
  3. For the second of the four text blocks, add these lines to your CSS file.
    
      .important-note-2 { 
          margin: 42px 0 42px 0;
          padding: 14px 0 14px 0;
          border-style: solid;
          border-top-width: 8px;
          border-bottom-width: 4px;
          border-left-width: 0;
          border-right-width: 0
      }
    
      .important-note-2 h3 { margin-top: 0 }
    
      .important-note-2 p { margin-bottom: 0  }
    
    
  4. Save the CSS file, and view your web page in your web browser. The second sample text box should look similar to that below. Tutorial RWD: Media Queries
  5. For the third text block, add these lines to your CSS file.
    
      .important-note-3 { 
          margin: 42px 0 42px 0;
          padding: 14px 14px 20px 14px;
          border-style: solid;
          border-top-width: 0;
          border-bottom-width: 0;
          border-left-width: 20px;
          border-right-width: 0
      }
    
      .important-note-3 h3 { margin-top: 0 }
    
      .important-note-3 p { margin-bottom: 0  }
    
    
  6. Save the CSS file, and view your web page in your web browser. The third sample text box should look similar to that below. Tutorial RWD: Media Queries
  7. For the final text block, add these lines to your CSS file.
    
      .important-note-4 { 
          margin: 42px 0 42px 0;
          padding: 14px 14px 24px 14px;
          border-style: solid;
          border-width: 3px;
          border-radius: 10px
     }
    
      .important-note-4 h3 { margin-top: 0 }
    
      .important-note-4 p { margin-bottom: 0  }
    
    
  8. Save the CSS file, and view your web page in your web browser. The fourth sample text box should look similar to that below. Tutorial RWD: Media Queries

Updating the <head> of your web page

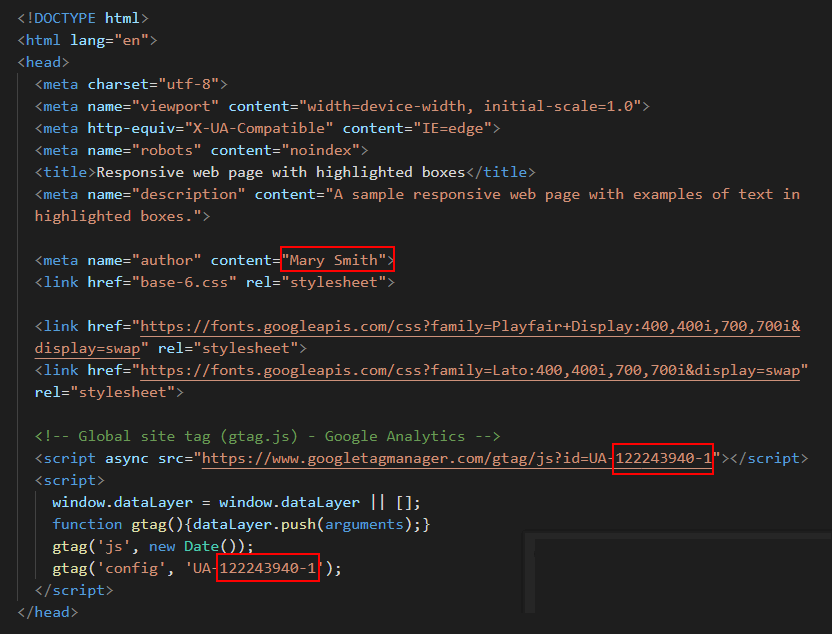
Before you validate your web page and upload it to GitHub, ensure the following details are correct within the <head> of your base-6.html file.

GitHub image

Validating your web page

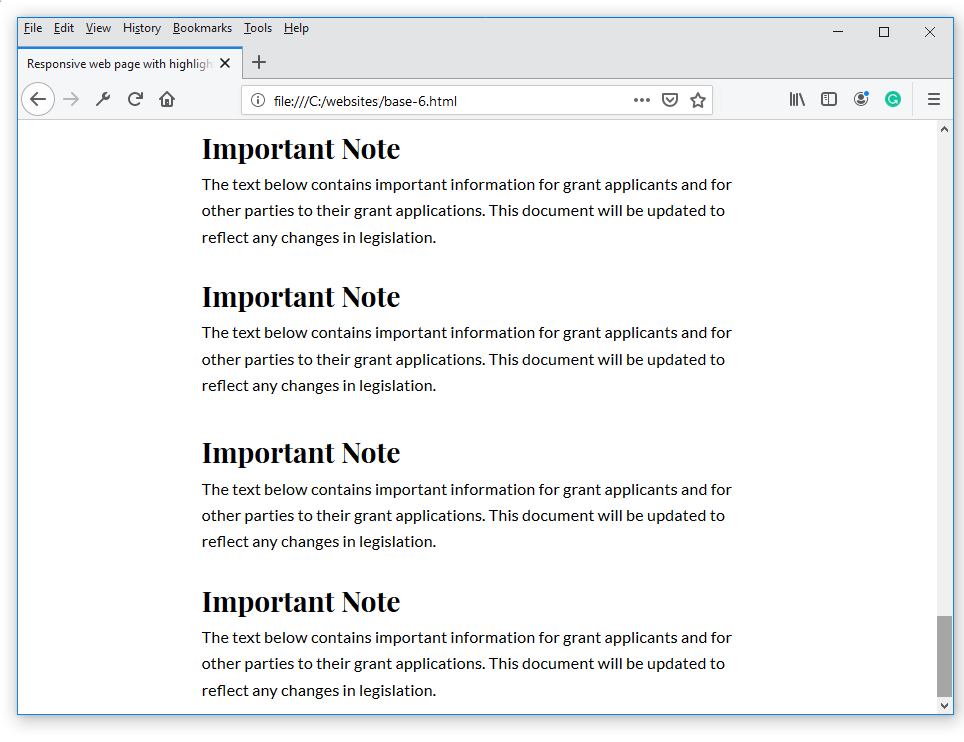
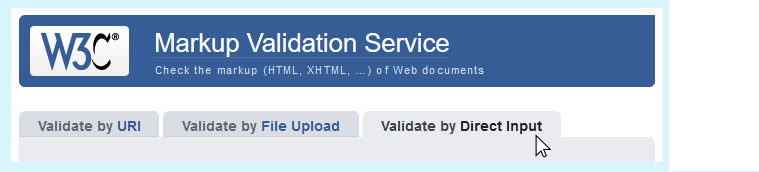
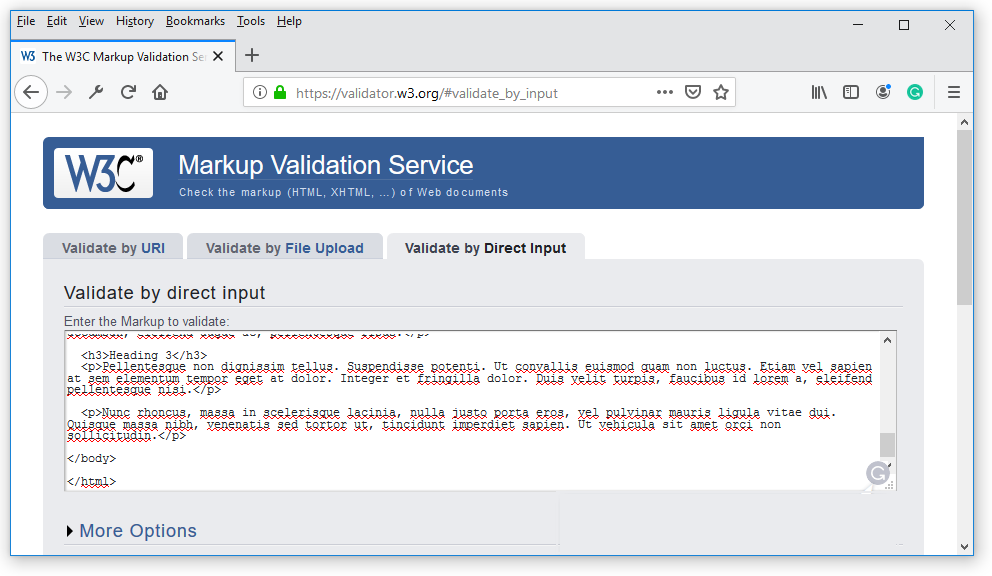
To check the HTML in your web page is correct or valid, use the official W3C Markup Validation Service as follows.

  1. Go to this web page: https://validator.w3.org.
  2. Click the Validate by Direct Input tab. Tutorial RWD: Media Queries
  3. Select your entire HTML file (both <head> and <body>), and copy-and-paste it into the box named Enter the Markup to validate. Tutorial RWD: Media Queries
  4. Click the Check button.
  5. If you see any errors, return to your base-6.html file in your text editor, fix the errors, save the file, and copy-and-paste the entire file again.  In the HTML Validator, click the Back button of your web browser to again display the Validate by Direct Input tab. Click once in the tab and paste in your corrected HTML file. Your new, pasted-in file will replace the earlier version. Finally, click the Check button.

Validating your stylesheet

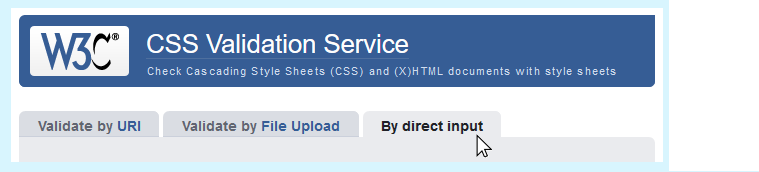
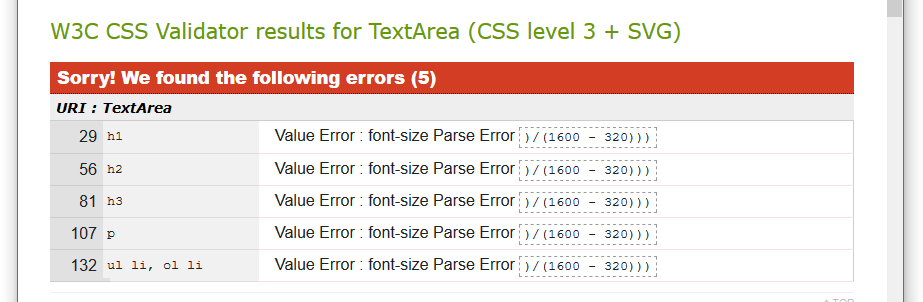
To check your CSS is correct, use the official W3C CSS Validation Service. Follow these steps.

  1. Go to this web page: https://jigsaw.w3.org/css-validator.
  2. Click the By direct input tab. Tutorial RWD: Media Queries
  3. Copy and paste your CSS file into the box named Enter the CSS you would like validated.
  4. Click the Check button.
  5. If you see any errors (other than those related to the fluid typographic equation, as shown below), return to your base-6.css file in your text editor, fix the errors, save the file, and copy the entire file again. Tutorial RWD: Media Queries
  6. In the CSS Validator, click the Back button of your web browser to again display the By direct input tab. Click once in the tab and paste in your corrected CSS file. Your new, pasted-in file will replace the earlier version. Finally, click the Check button.

Uploading your two files to GitHub

After validating your web page and stylesheet, you are now ready to upload them to your account on GitHub.

  1. Sign in to your account at GitHub.com. At the left of the screen, you can see a list of your repositories. Upload to GitHub
  2. On your GitHub home page, click the name of the repository that holds your web pages. Its name will look as follows, where username is your chosen username on GitHub.   username.github.io   GitHub Upload
  3. On the next screen displayed, near the centre of the screen, click the Upload files button. Project Animation Google Fonts
  4. Select or drag-and-drop the two files base-6.html and base-6.css to upload them to your GitHub account. Project Animation Google Fonts
  5. After uploading your files, scroll down to the bottom of the screen, enter a short message in the Commit changes box and click the Commit changes button.

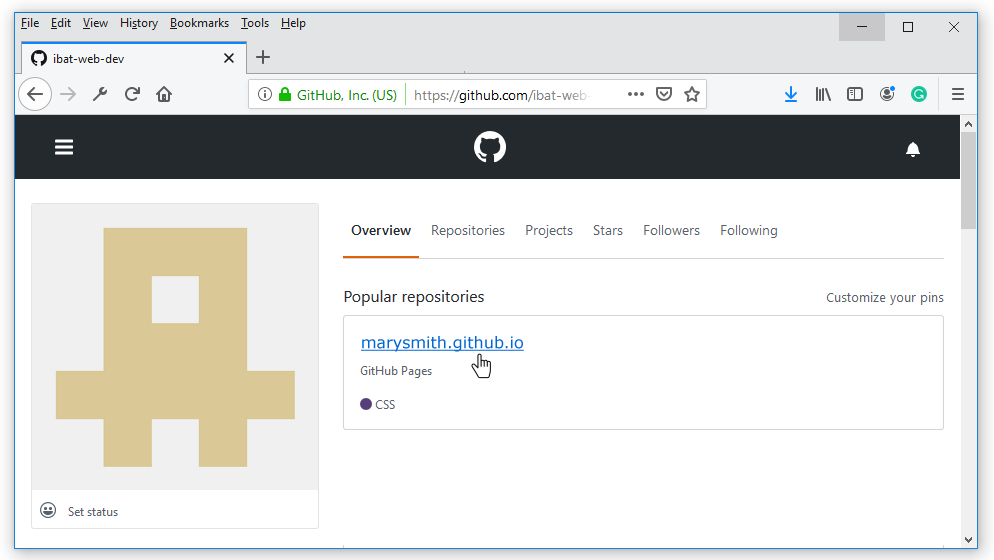
Your web page is now published on GitHub at a web address similar to the following, where username is the username you have chosen for your GitHub account:

https://username.github.io/base-6.html

It may take a few minutes for your uploaded file to appear on GitHub.

Further resources

Introduction to the CSS basic box model
From the Mozilla Developer Network

CSS box model
From Interneting is Hard

CSS 101: The box model
by Nesha Zoric on dev.to

The CSS box model: How to use it correctly
by Nick Schäferhoff on Torque Mag

Video: Learn CSS box model in eight minutes
From Web Dev Simplified

Video: CSS box model tutorial
From W3Schools

Video: The CSS box model – margin, borders and padding explained
By Kevin Powell

Video: Box-sizing – border-box explained
By Kevin Powell


Return to Contents.