
At the end of this Tutorial you will be able to:
You can view a finished version of this project by clicking the image below.
Hyperlinks, or more simply links, enable users to click or tap their way from one section of a web page to another, from one web page to another web page, and from one website to another website.
Hyperlinks typically have the following format:
<p>To learn more, please click <a href="webpage.html">here</a>.</p>
The above code would produce the following result.

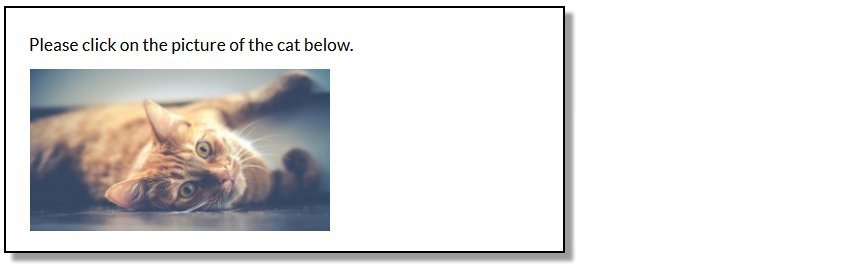
This is an example of a hyperlink placed around an item of text. Hyperlinks can also be placed around an image, as shown below.
 <p>Please click on the picture of a cat below.</p>

 <a href="webpage.html"><img src="cat.jpg" alt="cat"></a>
This second example would produce the following result.
The general format of a hyperlink in HTML is as shown below.

A hyperlink begins and ends with the a (for ‘anchor’) tag. After the opening a tag comes the href attribute that is followed by an equal to sign (=). The href value holds, within quotation marks, the link destination – that is, the location to where the user will be taken when they click or tap on the link.
One way of looking at hyperlinks is to ask: what is the destination of the link? Where will it send the user to?
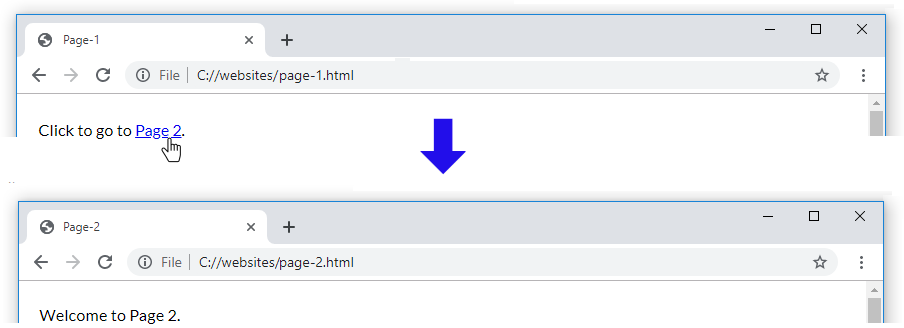
In the example below, the linked-to web page is on another, different web site. The new page replaces the current web page in the user’s web browser tab.
<a href="https://www.ibat.ie/courses/web-design-diploma-course.html">IBAT Web Design Course</a>
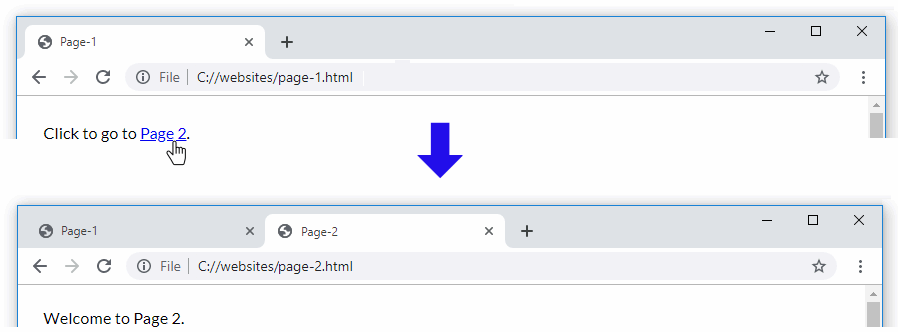
In this second example, the linked-to web page opens in a new tab of the user’s web browser. The original page is still displayed in a web browser tab.
<a href="https://www.ibat.ie/courses/web-design-diploma-course.html" target="_blank" rel="noopener">IBAT Web Design Course</a>
The target="_blank" attribute forces the new page to open in a new tab. The rel="noopener" attribute is a security feature designed to prevent exploitation by malicious websites.
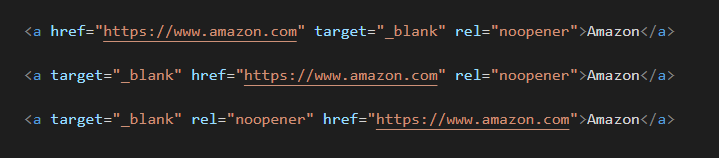
Within the opening <a> hyperlink tag, you can place the three attributes in any order. All three examples below are valid.
The above two examples are known as absolute hyperlinks. In each case, the destination contains the full web address beginning with ‘https://’.
When a hyperlink takes a user to a location of the same website, you do not need to include the ‘https://’ as part of the destination. It is enough to specify only:
These are called relative hyperlinks.
For example, the relative hyperlink below will take the user to a different page within the same folder of the same website.
<p>Read about our <a href="about-us.html">team members</a>.</p>
You will commonly see relative hyperlinks used in navigation menus that provide users with access to the various pages of a website.

In the final case, a hyperlink can take a user to a different location within the same web page. This is known as an internal hyperlink.
In the sample code below, the user is taken to the section of the same web page that has an id of #summary.
 <p>Read the report <a href="#summary">summary</a>.</p>

 ...

 <h3 id="summary">Summary</h3>
Note that there are two parts to an internal hyperlink:
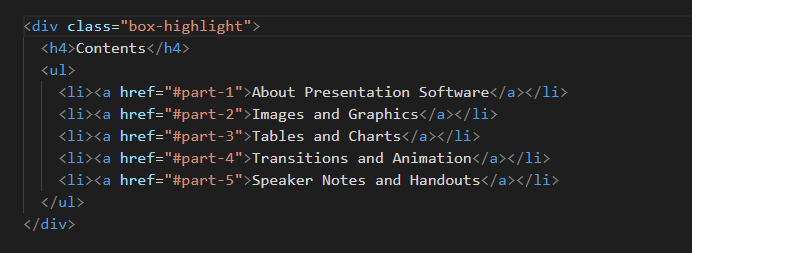
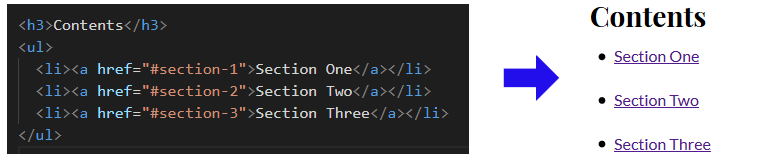
In the example below, you can see a table of contents with hyperlinks to five sections located further down the web page.
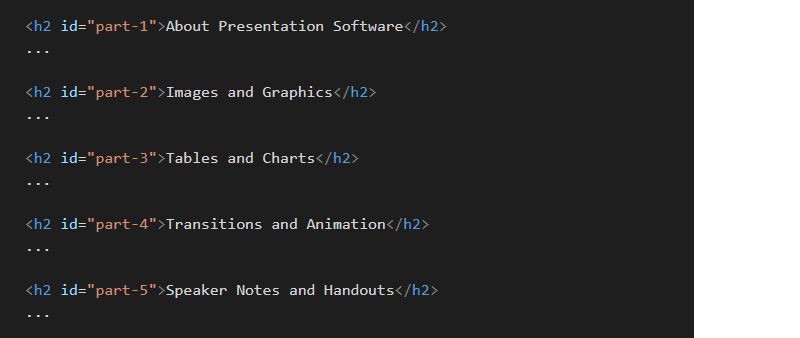
 And below are the sections of the web page to which the internal hyperlinks take the user. Note that each has a unique ID as part of its opening <h2> sub-heading tag.
Hyperlinks have four possible states. They are as follows:
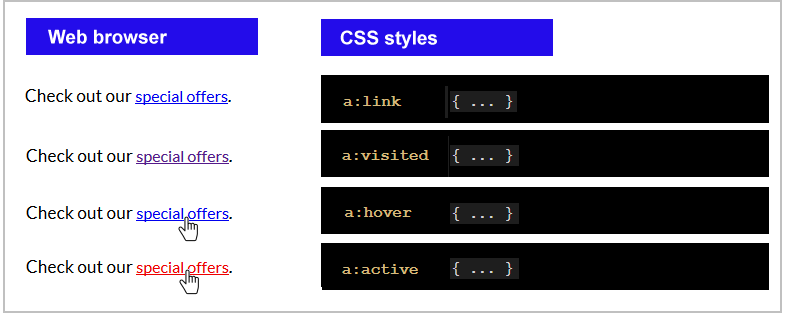
Note that, by default, all four hyperlink states are highlighted with an underline. Web browsers achieve this effect by automatically assigning the following CSS rule:
a:link, a:visited, a:hover, a:active {Except for the special cases of hyperlinks in menus and as buttons, it is good practice to underline the visited and unvisited states of hyperlinks within blocks of text.
You can use CSS rules to control the appearance of hyperlinks. In most cases, it is enough to style the links for just two cases:
a:link, a:visited { color: blue }
a:hover, a:active { text-decoration: darkblue }
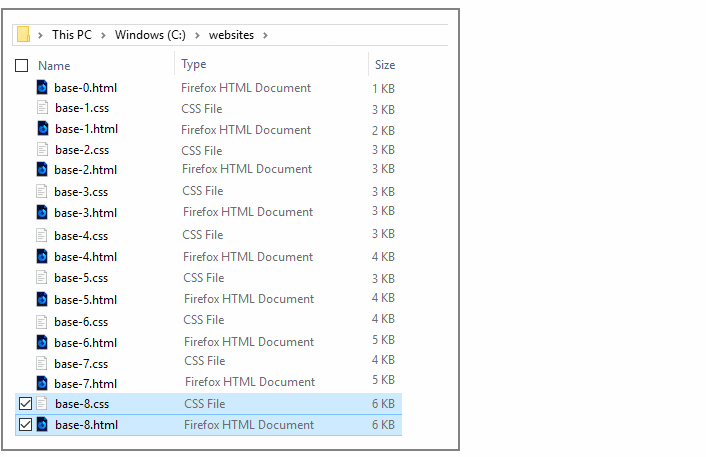
In this Tutorial you will work with these two files:
First, let’s edit the HTML file from your previous Tutorial:
<title>Responsive web page with hyperlinks</title>
<meta name="description" content="A sample responsive web page with examples of hyperlinks.">
<link rel="stylesheet" href="base-8.css">
You are now ready to work with your new web page (base-8.html) and stylesheet (base-8.css).
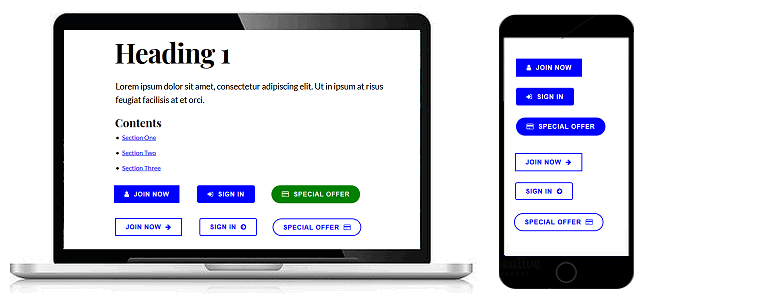
Let᾿s begin by creating a 'table of contents' that will help users navigate through a single web page.
<h1>Heading 1</h1>
<p>Lorem ipsum dolor sit amet, consectetur adipiscing elit. Ut in ipsum at risus feugiat facilisis at et orci.</p>

<h3>Contents</h3>
<ul>
  <li>Section One</li>
  <li>Section Two</li>
  <li>Section Three</li>
</ul>
 Save the web page and view it in your web browser. You can see the three items in the bulleted list look like hyperlinks – but they are not clickable. They do not lead anywhere.
That is because the three link destinations do not yet exist. Let’s add these now.
Save the web page and view it in your web browser. You can see the three items in the bulleted list look like hyperlinks – but they are not clickable. They do not lead anywhere.
That is because the three link destinations do not yet exist. Let’s add these now.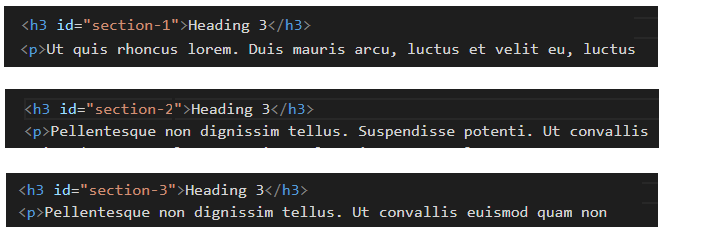 Save the web page and view it in your web browser. The three links in the 'table of contents' should now work correctly.
html { scroll-behavior: smooth }
<body id="top-of-page">
<p><a href="#top-of-page">Return to top of page</a></p>
In this next section of the Tutorial, you will apply some CSS styles to a hyperlink that is positioned within a block of paragraph text.
  <h2>Heading 2</h2>
  <p>Donec ut leo eget risus mattis mattis non vitae massa. <a href="https://www.ibat.ie">Suspendisse potenti</a>. Aenean efficitur fermentum orci ac blandit. Quisque tempus tincidunt metus at interdum. Aenean elementum vehicula tellus id gravida. Aenean mollis sollicitudin elit.</p>

<a href="https://www.ibat.ie" class="fancy-link">Suspendisse potenti</a>.
<a class="fancy-link" href="https://www.ibat.ie">Suspendisse potenti</a>.
/* ==== HYPERLINKS ==== */

a.fancy-link:link,
a.fancy-link:visited,
a.fancy-link:hover,
a.fancy-link:active {
    text-decoration: none;
    color: inherit;
    border-bottom-style: solid;
    border-bottom-width: 2px;
    padding-bottom: 2px;
}

Note the following:
  a.fancy-link:link,
  a.fancy-link:visited { border-bottom-color: blue}
  a.fancy-link:hover,
  a.fancy-link:active { color: red; border-bottom-color: red }

Links can be styled to look like 'click/tap me' buttons. Such links are styled differently to links within paragraphs of text.
  <a class="btn" href="https://www.ibat.ie">Join Now</a>
  <a class="btn" href="https://www.ibat.ie">Sign Up</a>
  <a class="btn" href="https://www.ibat.ie">Special Offer</a>
 a.btn:link, .btn:visited, a.btn:hover, a.btn:active {
    text-decoration: none;
    color: inherit;
    border-style: solid;
    border-width: 2px;
    padding: 12px 24px;
    display: inline-block;
    margin: 20px 40px 20px 0;
    text-transform: uppercase;
    font-weight: bold;
    font-family: sans-serif;
    letter-spacing: 1px
    line-height: 1
 }

In the next parts of this Tutorial, you will add some colours and shapes to these styled-as-a-button hyperlinks.
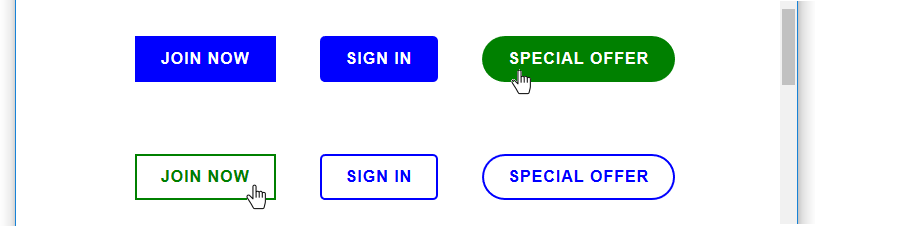
In the following steps you will create a class in CSS for styling hyperlinks as buttons with a solid background.
  <a class="btn btn-solid" href="https://www.ibat.ie">Join Now</a>
  <a class="btn btn-solid" href="https://www.ibat.ie">Sign Up</a>
  <a class="btn btn-solid" href="https://www.ibat.ie">Special Offer</a>
a.btn-solid:link, .btn-solid:visited {
    border-color: blue;
    background-color: blue;
    color: #fff
}

a.btn-solid:hover, .btn-solid:active {
    border-color: green;
    background-color: green;
    color: #fff
}

In the following steps you will create a class in CSS for styling hyperlinks as buttons with a transparent background. Such buttons are known as ‘ghost buttons‘.
  <a class="btn btn-solid" href="https://www.ibat.ie">Join Now</a>
  <a class="btn btn-solid" href="https://www.ibat.ie">Sign Up</a>
  <a class="btn btn-solid" href="https://www.ibat.ie">Special Offer</a>

  <p>
  <a class="btn btn-ghost" href="https://www.ibat.ie">Join Now</a>
  <a class="btn btn-ghost" href="https://www.ibat.ie">Sign Up</a>
  <a class="btn btn-ghost" href="https://www.ibat.ie">Special Offer</a>
a.btn-ghost:link, .btn-ghost:visited {
    border-color: blue;
    background-color: transparent;
    color: blue
}

a.btn-ghost:hover, .btn-ghost:active {
    border-color: green;
    background-color: transparent;
    color: green
}

In the following steps you create two new classes in CSS to control the shape of hyperlinks styled as buttons.
  <a class="btn btn-solid" href="https://www.ibat.ie">Join Now</a>
  <a class="btn btn-solid btn-soft" href="https://www.ibat.ie">Sign Up</a>
  <a class="btn btn-solid btn-round" href="https://www.ibat.ie">Special Offer</a>

  <p>
  a.btn-soft { border-radius: 5px }
  a.btn-round { border-radius: 25px }
In the final part of this Tutorial, you will add some icons from Font Awesome to the hyperlinks styled as buttons. You will use version 4 of Font Awesome, rather than the more recent version 5.
<link href="base-8.css" rel="stylesheet">

<!-- Link to icons for Font Awesome 5 -->
<link href="https://cdnjs.cloudflare.com/ajax/libs/font-awesome/5.11.2/css/all.min.css" rel="stylesheet">
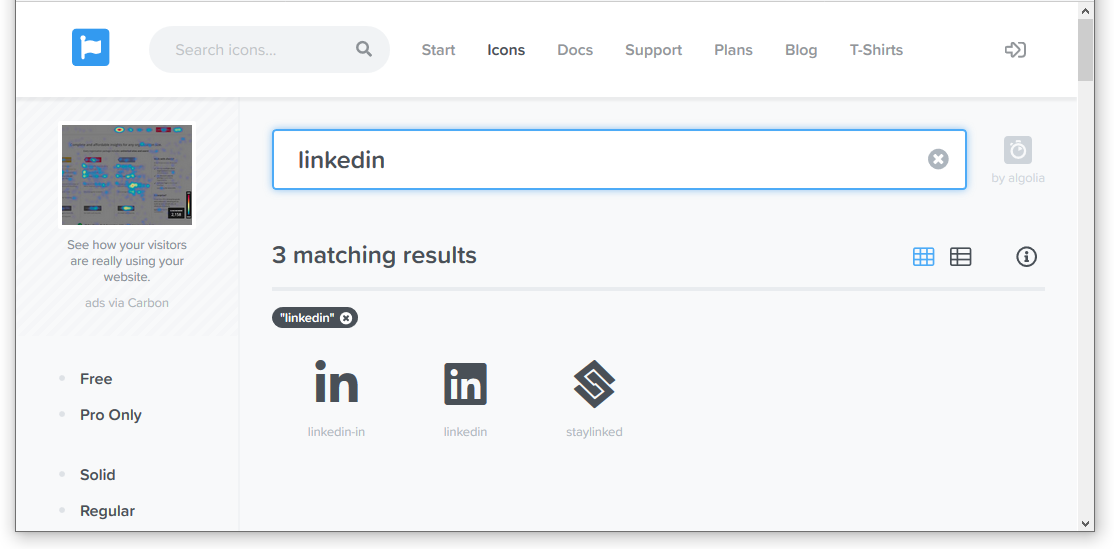
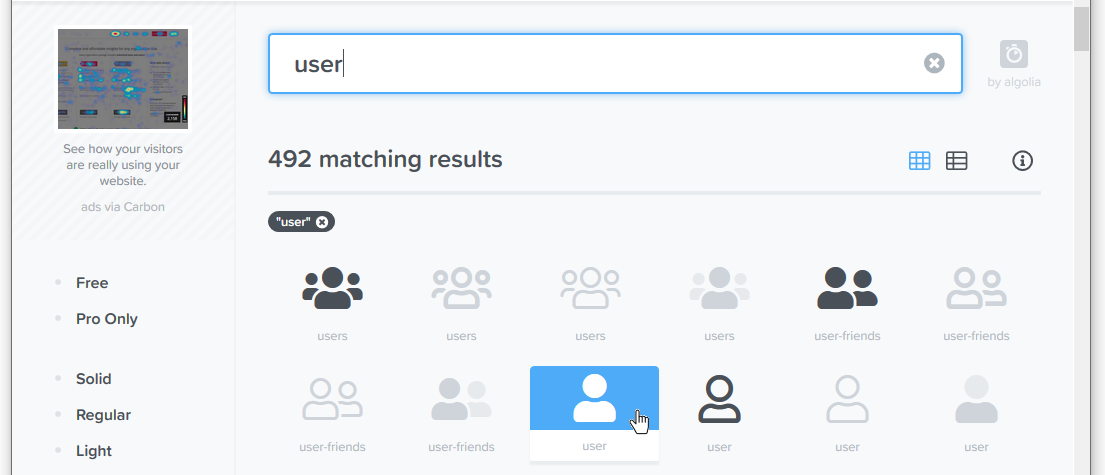
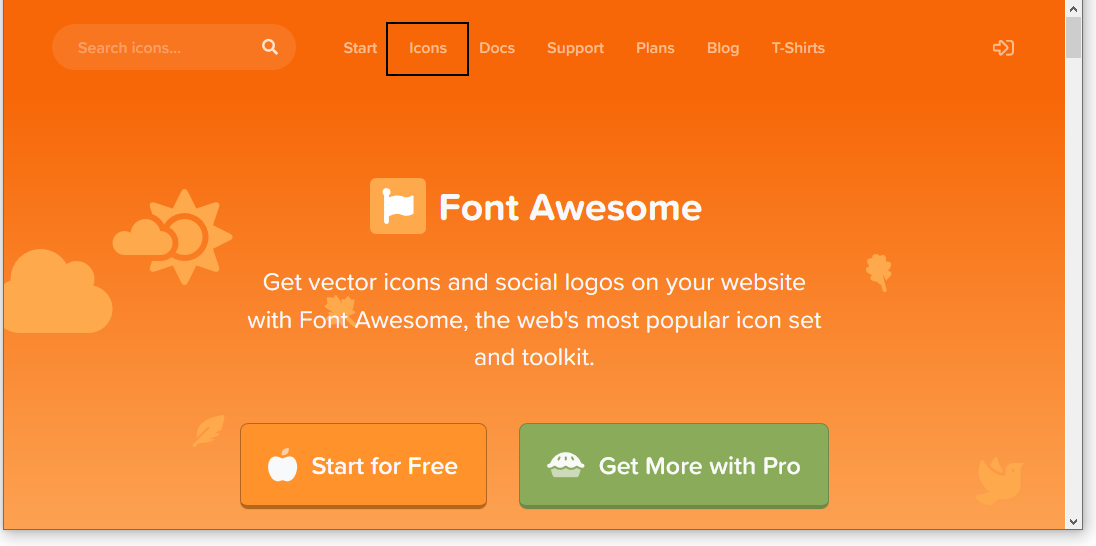 On the next page displayed you use the Search box to locate icons by name from the Font Awesome range of over 600 free icons.
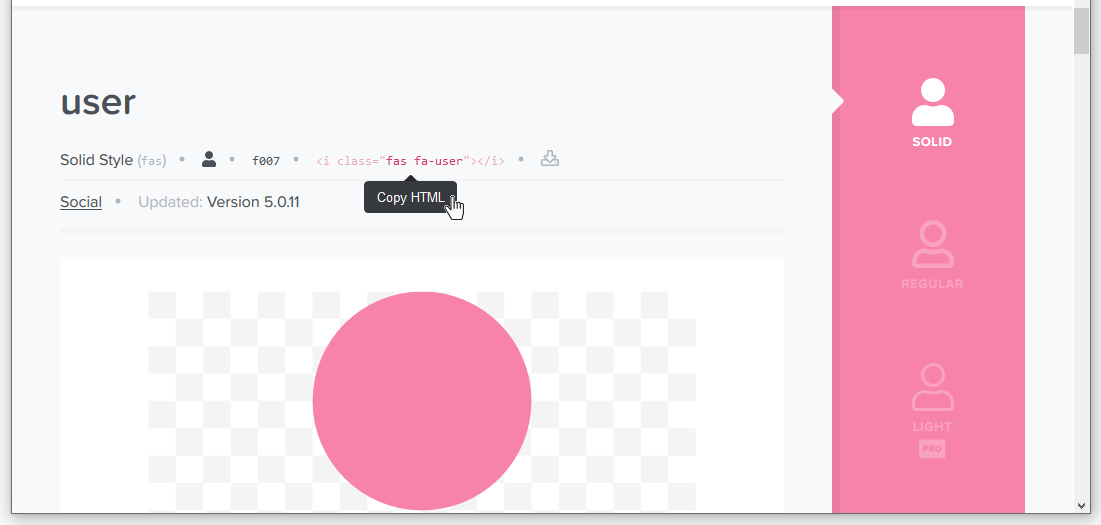
<a class="btn btn-solid" href="https://www.ibat.ie"><i class="fas fa-user"></i> Join Now</a>
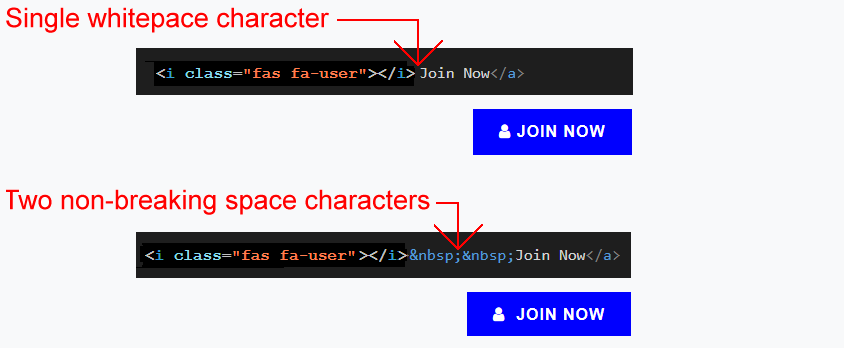 Here is the final code for the 'JOIN NOW' button.
<a class="btn btn-solid" href="https://www.ibat.ie"><i class="fas fa-user" ></i> Join Now</a>
<a class="btn btn-solid btn-soft" href="https://www.ibat.ie"><i class="fas fa-sign-in-alt" ></i> Sign In</a>
<a class="btn btn-solid btn-round" href="https://www.ibat.ie"><i class="far fa-credit-card" ></i> Special Offer</a>

<a class="btn btn-ghost" href="https://www.ibat.ie">Join Now <i class="fas fa-arrow-right"></i></a>
<a class="btn btn-ghost btn-soft" href="https://www.ibat.ie">Sign In <i class="fas fa-arrow-circle-right" ></i></a>
<a class="btn btn-ghost btn-round" href="https://www.ibat.ie">Special Offer <i class="far fa-credit-card" ></i></a>

Before you validate your web page and upload it to GitHub, ensure the following details are correct within the <head> of your base-8.html file.

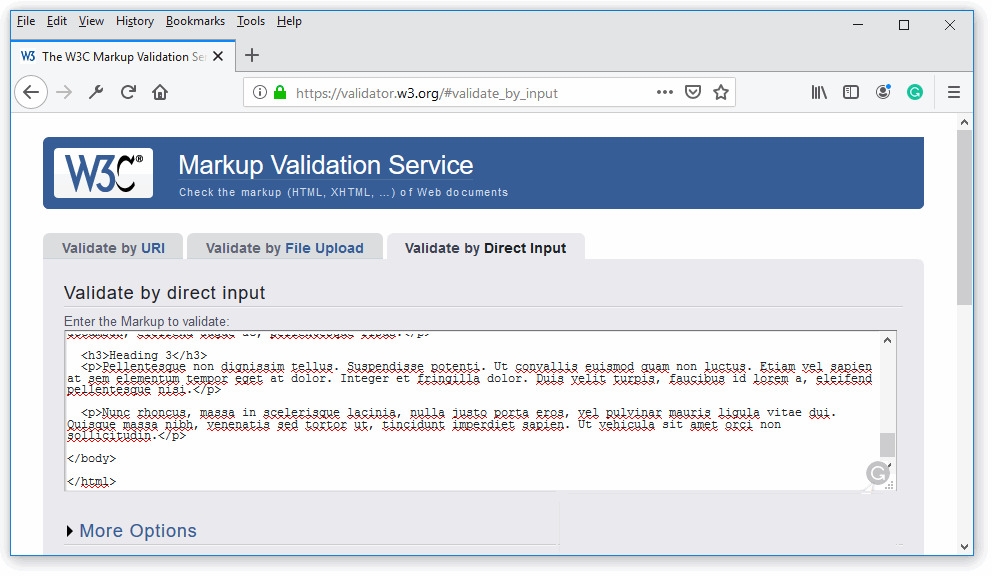
To check the HTML in your web page is correct or valid, use the official W3C Markup Validation Service as follows.
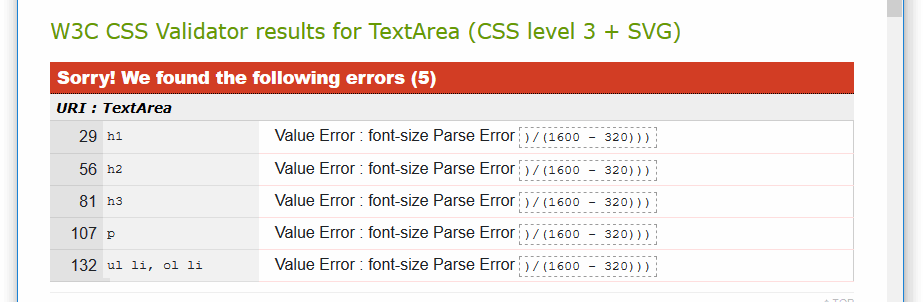
To check your CSS is correct, use the official W3C CSS Validation Service. Follow these steps.
After validating your web page and stylesheet, you are now ready to upload them to your account on GitHub.


Your web page is now published on GitHub at a web address similar to the following, where username is the username you have chosen for your GitHub account:
https://username.github.io/base-8.html
It may take a few minutes for your uploaded file to appear on GitHub.
HTML links
From W3 Schools
Links and Images
From Interneting is Hard
Creating hyperlinks
From the Mozilla Developer Network
HTML anchors and links
From HTML.com
Video: How to create links in HTML
By Multimedia Tutorials
Video: Linking your web pages together
By Gaute Michel Ferstad
Return to All Tutorials.