Introduction
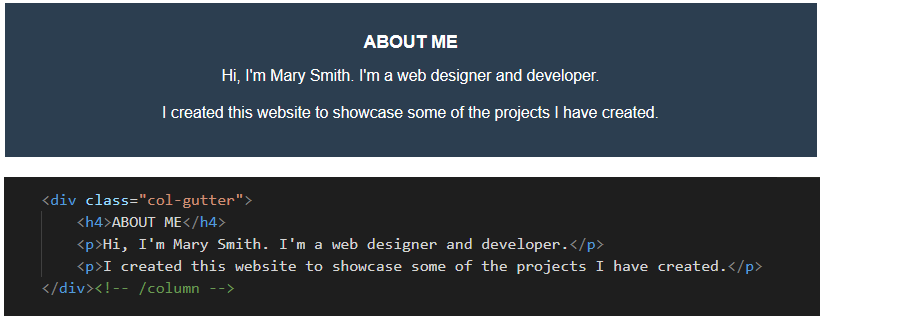
In this project you will work with three sample portfolio pages. You can display finished versions of these pages by clicking the images below.

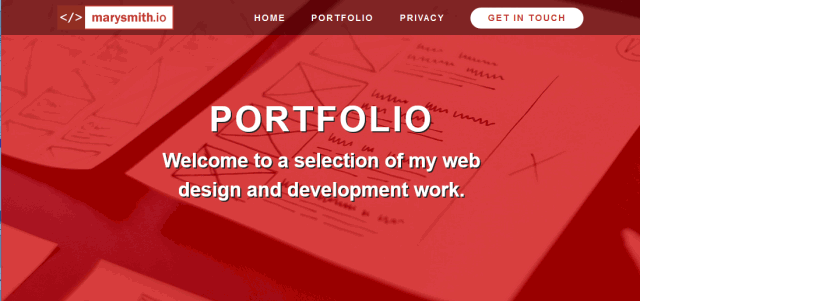
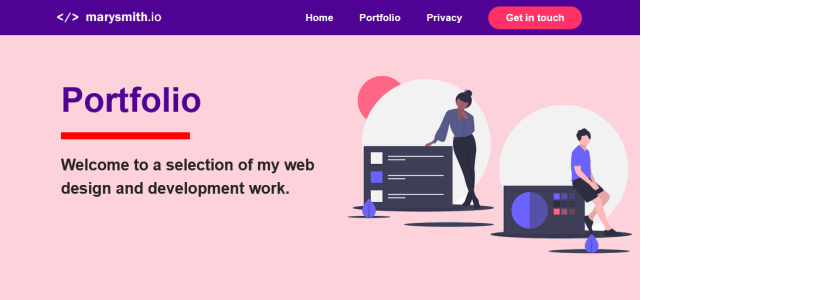
In this project you will work with three sample portfolio pages. You can display finished versions of these pages by clicking the images below.
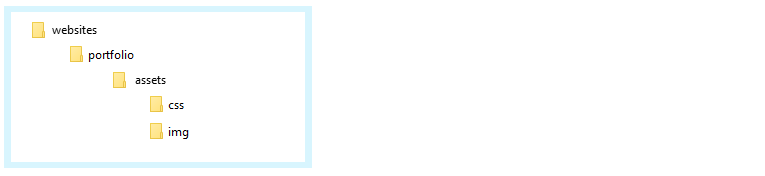
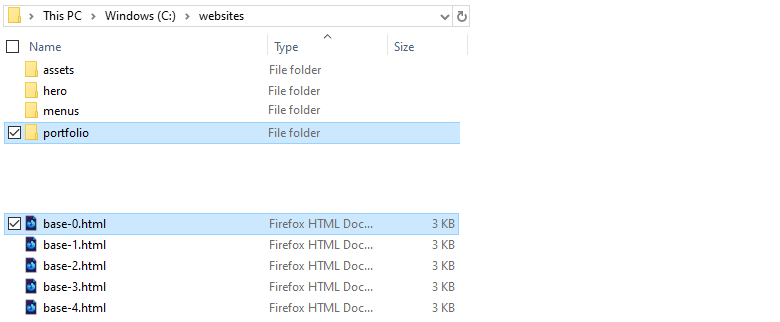
Your first step is to create on your computer folders that will store the HTML files, CSS files, and image files needed for this project.
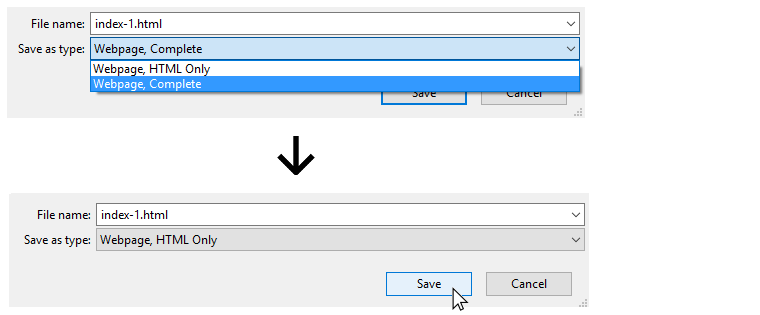
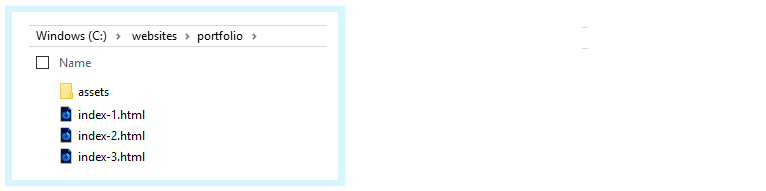
Follow these steps to download the three HTML files to the portfolio folder you have created.


You should now have three HTML files saved in your C:\websites\portfolio folder.
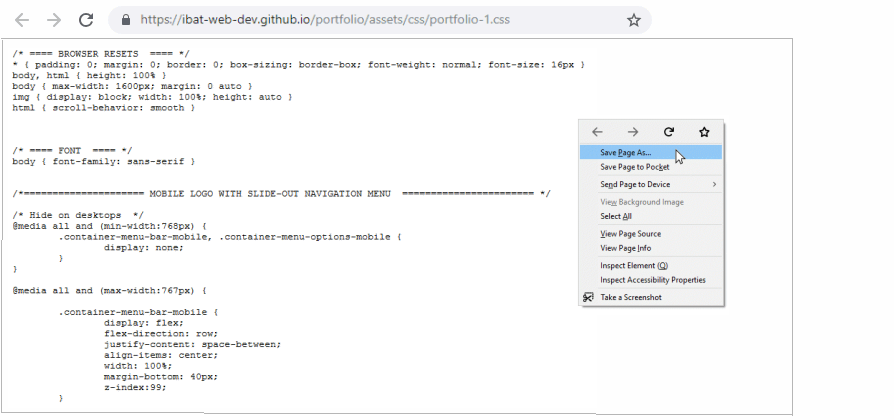
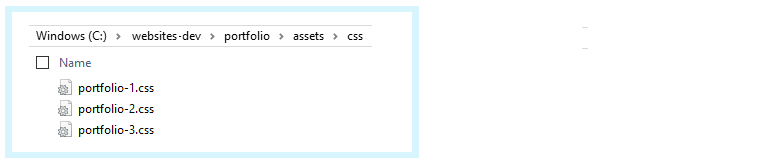
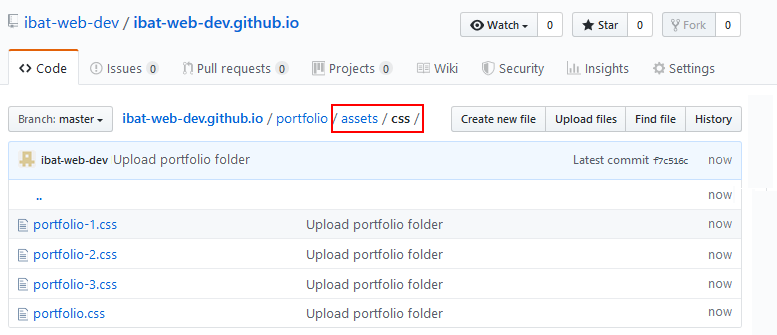
You will now download the three CSS files to the C:\websites\portfolio\assets\css sub-folder.
You should now have three CSS files saved in your C:\websites\portfolio\assets\css sub-folder.
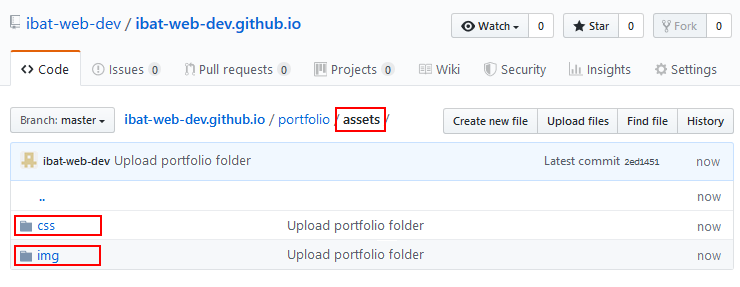
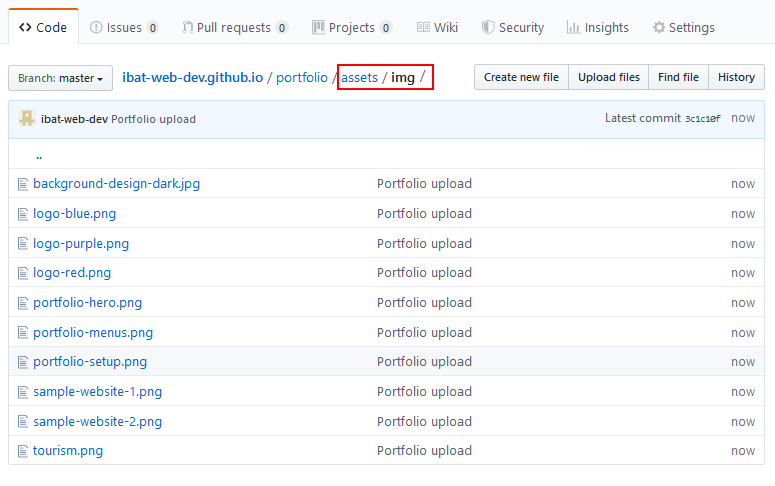
Follow these steps to download the various image files to the C:\websites\portfolio\assets\img sub-folder.


Review the three versions of the sample portfolio files in your web browser. On a Windows PC, the three files should be at the following locations:
file:///C:/websites/portfolio/index-1.html
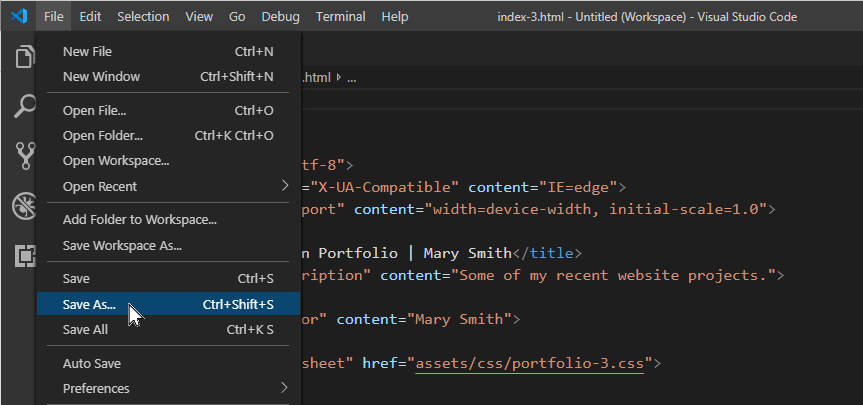
file:///C:/websites/portfolio/index-3.html
file:///C:/websites/portfolio/index-3.html
Which one of the three sample portfolio versions is closest to the one you would like for your own website?
Follow the steps below to customise it according to your requirements.


You can ignore the three HTML and three CSS files you downloaded.
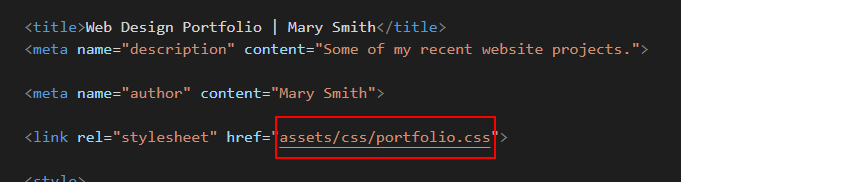
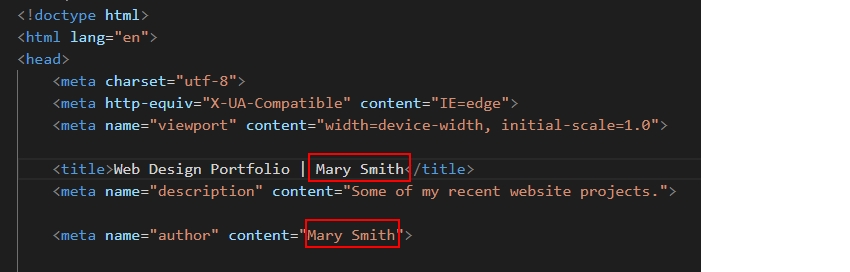
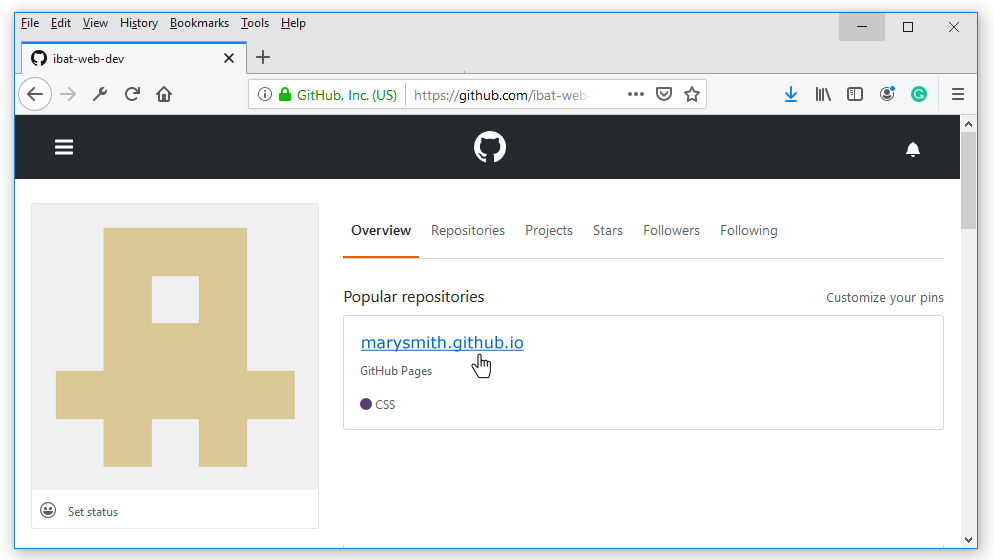
In the <head> of your index.html web page, within the <title> and <author> meta tags, you can see the name 'Mary Smith.'
Replace this with your own name, and save the HTML file.
In the <head> of your privacy.html web page, under the link to the privacy.css stylesheet, is the link to another stylesheet: the CSS file for the Font Awesome icon collection. You need not make any changes to this.

This CSS file is required to create the icons in the footer of the privacy.html web page.
You can see a full list of Font Awesome icons at the web address below:
You can find some guidance on using Font Awesome icons below:
As with any Google Fonts you may use in your web pages, the Font Awesome icons will display on your computer only when you are connected to the Internet.
Near the top of your HTML file, just before the closing </head> tag, you can see a sample Google Analytics Tracking Code.
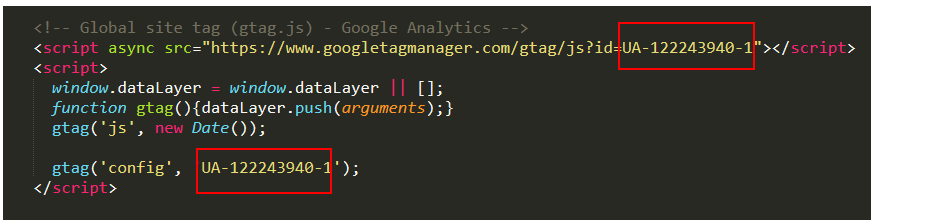
Each Google Tracking Code has a unique ID in its first and last line. Replace the sample Google Tracking ID with your own Google Tracking ID. The instructions for viewing your website’s unique Google Tracking ID are here.
When finished, save the index.html file.
At the bottom of the index.html file is the footer section for the web page. It appears as three columns on desktop screens and as a single column on mobile phones. The footer section contains three parts:


When finished updating the footer, save the index.html file and view the result in your web browser.
Your need to add the ‘pop-up‘ privacy code and message to your web page. You can find the instructions for generating this code here.
  <link type="text/css" content="https://cdn.jsdelivr.net/npm/cookieconsent@3/build/cookieconsent.min.css">
</head>

<body>
<script src="https://cdn.jsdelivr.net/npm/cookieconsent@3/build/cookieconsent.min.js" data-cfasync="false"></script>
<script>
window.cookieconsent.initialise({
  "palette": {
    "popup": {
      "background": "#000"
    },
    "button": {
      "background": "#f1d600"
    }
  },
  "content": {
    "href": "https://username.github.io/privacy.html"
  }
});
</script>
</body>
</html>
Near the end of this code is the sample web address of https://username.github.io/privacy.html.
Change this to the web address of the privacy page on your own website.
The final step is to upload your project to GitHub.
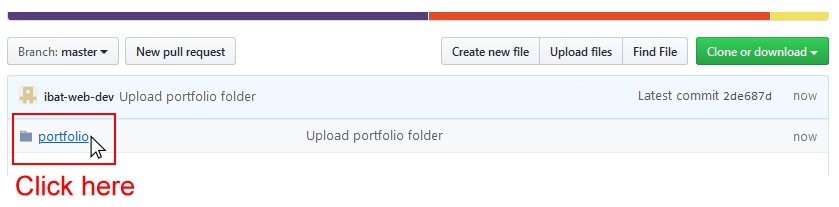
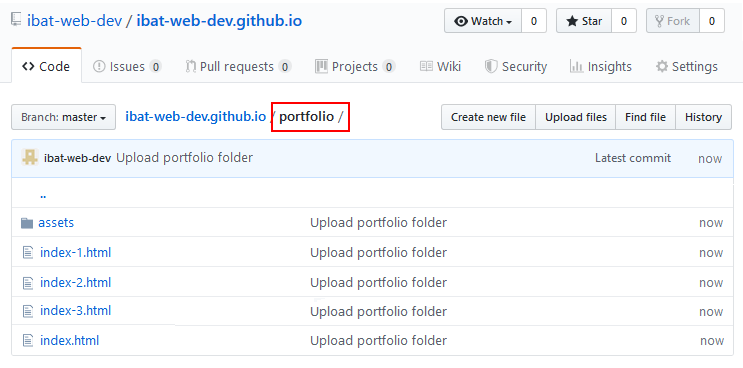
All the files for this project are in a sub-folder named portfolio of your websites folder. So you will need to upload this portfolio sub-folder, which contains both files and other sub-folders, to your account on GitHub.
However, GitHub will not allow you to upload only a folder (such as portfolio) from your computer.
For this reason, you need to upload a file along with your portfolio folder. It can be any file. Follow these steps.


 You do not need to select this particular file. You can use any file. But you cannot upload the portfolio folder (or any other folder) on its own.
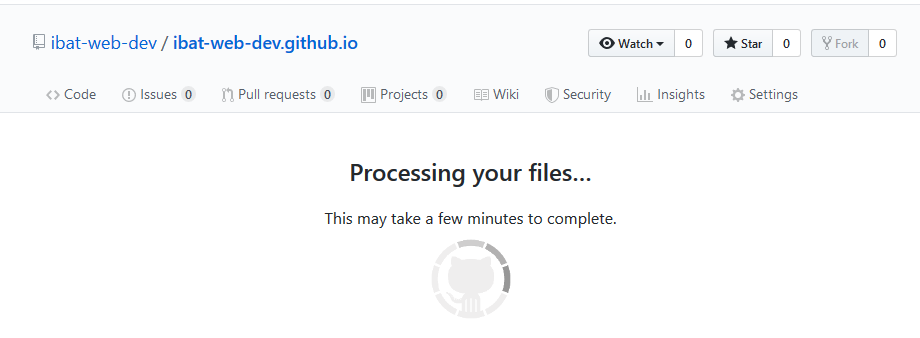
Your web page will display correctly online only when:
Your web page is now published on GitHub at a web address similar to the following, where username is the username you have chosen for your GitHub account:
https://username.github.io/portfolio/index.html
or, simply:
https://username.github.io/portfolio
It may take a few minutes for your uploaded files to appear on GitHub.
Return to Contents.