
At the end of this Tutorial you will be able to:
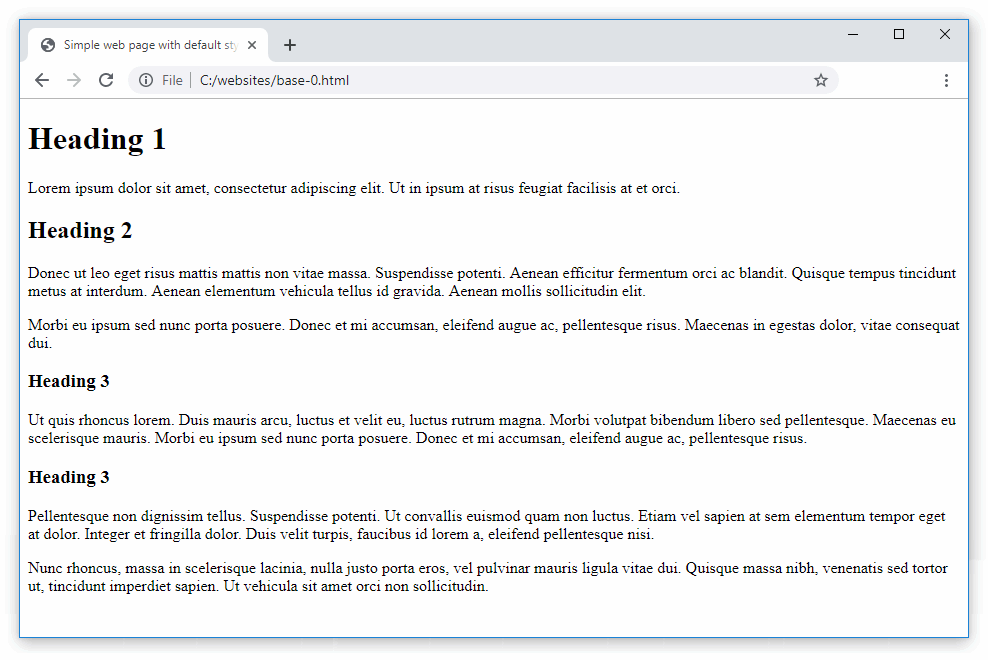
You can view a finished version of this exercise by clicking the image below.
Let’s create a new web page – that is, an HTML file. Here are the steps:
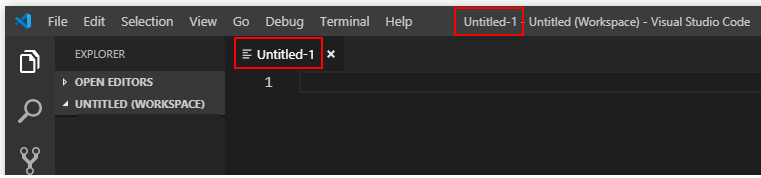
 Visual Studio creates a new, empty file in a new tab within your Visual Studio window. It suggests the name of Untitled-1 for your new file.
 Let’s give your new file a name and save it as an HTML file.
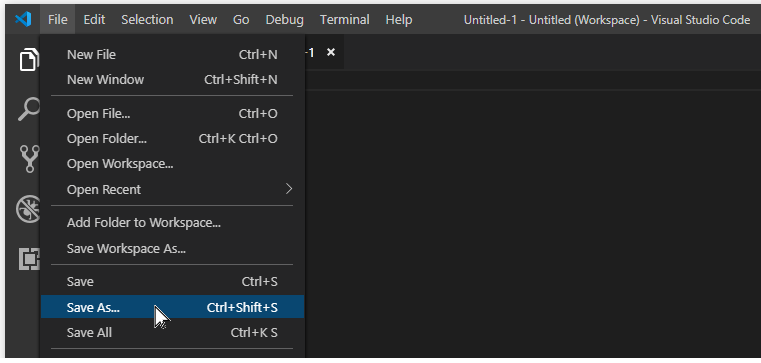
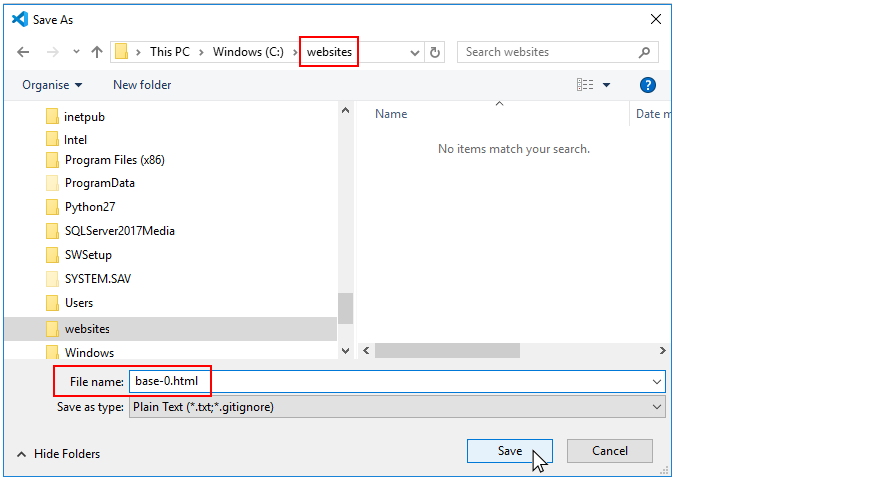
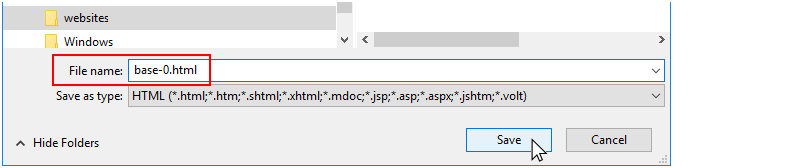
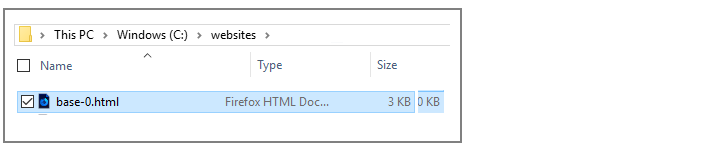
 When you do, you can see that the full file name of base-0.html is now displayed in the File name box. You can now click the Save button.

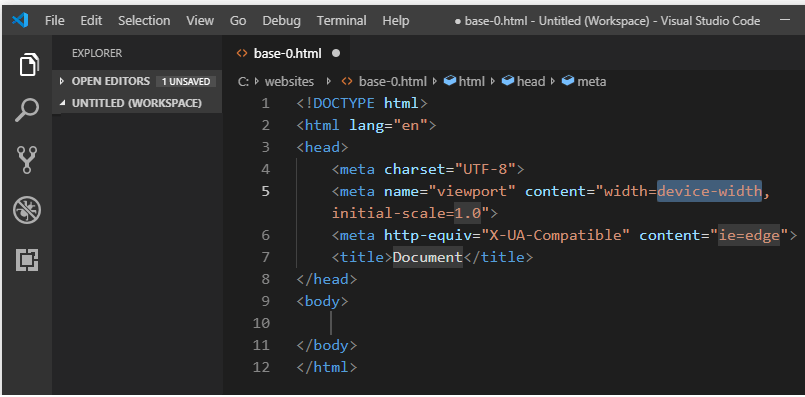
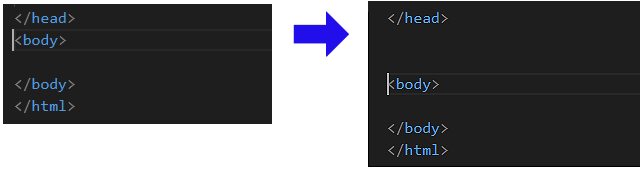
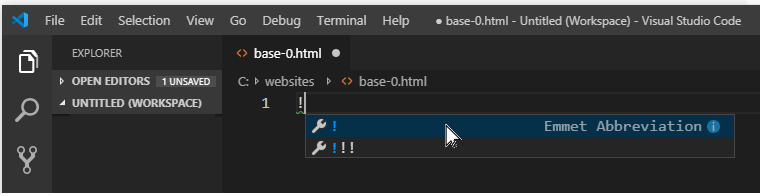 Visual Studio now fills your new file with the basic HTML structure.
 NOTE: The exclamation mark ! shortcut key is part of Emmet, a collection time-saving tools for web designer and developers that are included with Visual Studio. They can also be added to other text editors such as Sublime Text.
Let’s edit the ‘standard’ text in the <head> that was created by Visual Studio.
<title>Sample web page with default styling</title>
<meta name="description" content="A sample web page without a linked stylesheet file.">
<meta name="author" content="Mary Smith">
<!-- Global site tag (gtag.js) - Google Analytics -->
    <script async src="https://www.googletagmanager.com/gtag/js?id=UA-NNNNNNN-1"></script>
    <script>
       window.dataLayer = window.dataLayer || [];
       function gtag(){dataLayer.push(arguments);}
       gtag('js', new Date());
       gtag('config', 'UA-NNNNNNN-1');
    </script>
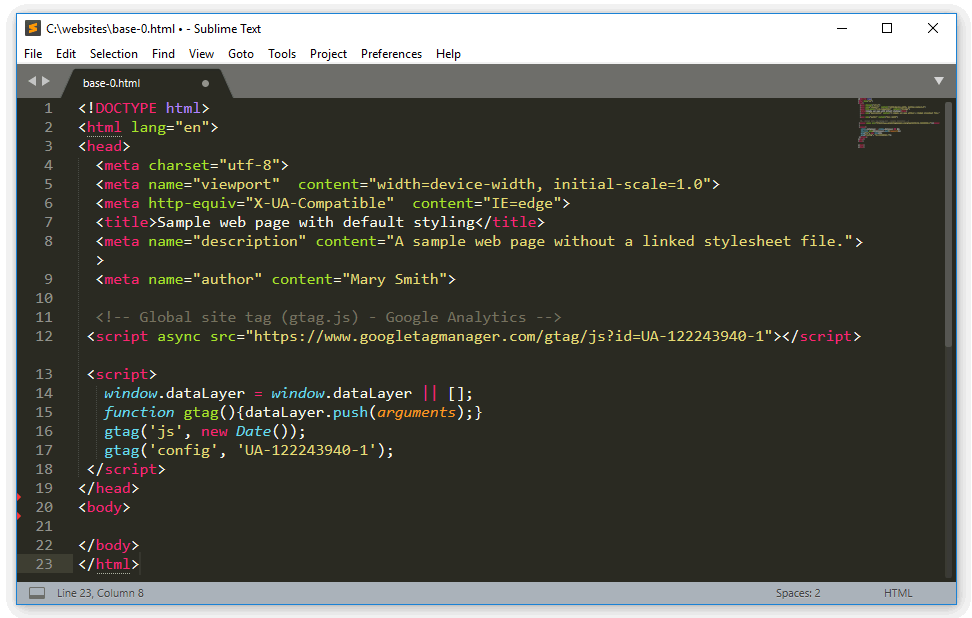
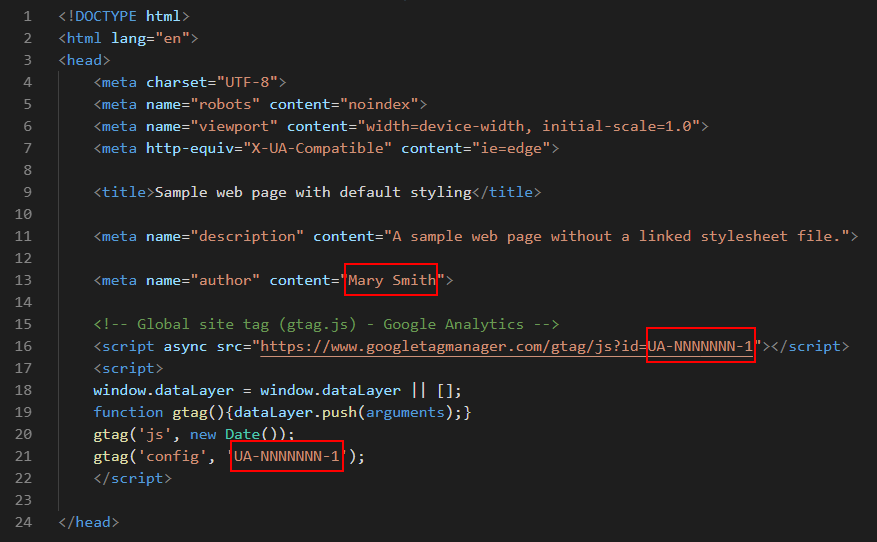
The <head> of your HTML file should now look as shown below.
<!DOCTYPE html>
<html lang="en">
<head>
  <meta charset="utf-8">
  <meta name="viewport" content="width=device-width, initial-scale=1.0">
  <meta http-equiv="X-UA-Compatible" content="IE=edge">

  <title>Sample web page with default styling</title>

  <meta name="description" content="A sample web page without a linked stylesheet file.">

  <meta name="author" content="Mary Smith">

  <!-- Global site tag (gtag.js) - Google Analytics -->
  <script async src="https://www.googletagmanager.com/gtag/js?id=UA-NNNNNNN-1"></script>
  <script>
       window.dataLayer = window.dataLayer || [];
       function gtag(){dataLayer.push(arguments);}
       gtag('js', new Date());
       gtag('config', 'UA-NNNNNNN-1');
  </script>
</head>
Save your web page.
If you are using Sublime Text rather than Microsoft Visual Studio Code, follow these steps to create a new HTML file.
 Sublime Text creates a new, empty file in a new tab. It suggests the name of untitled for your new file.
 Let’s give your new file a name and save it as an HTML file.
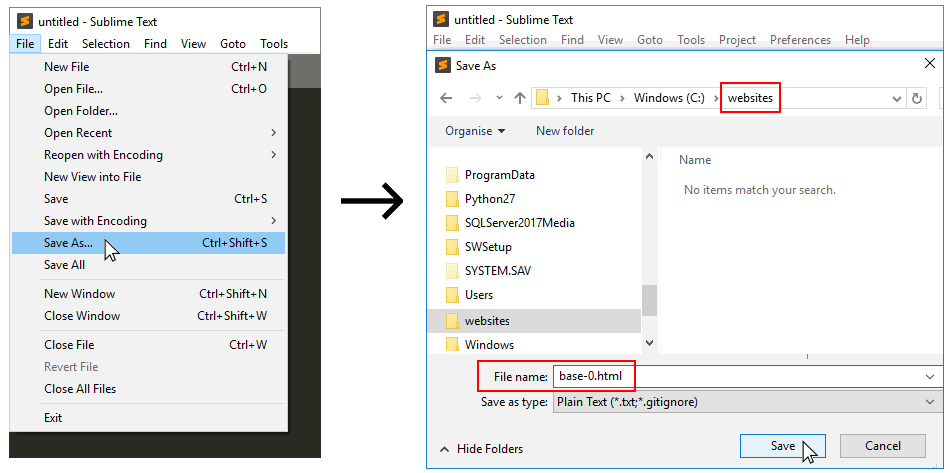
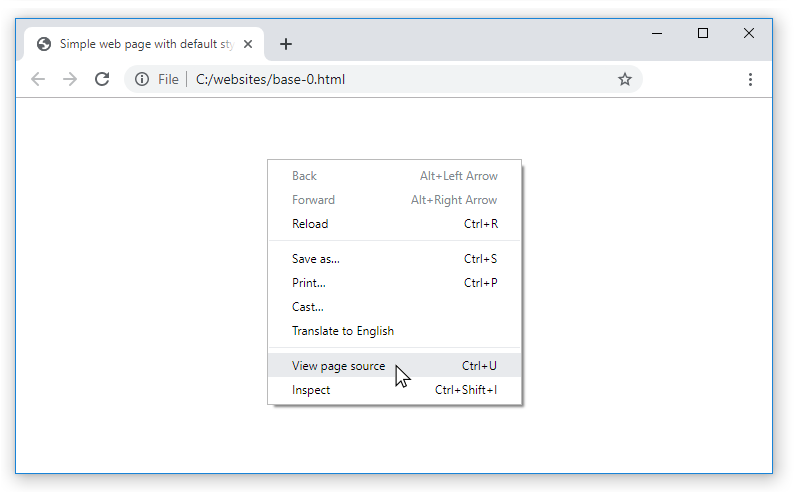
Let’s display your base-0.html web page in a web browser.


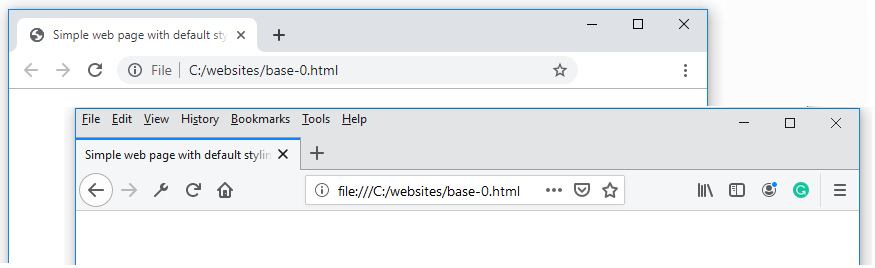 Note the address of the file in the Address Bar for your web browser.
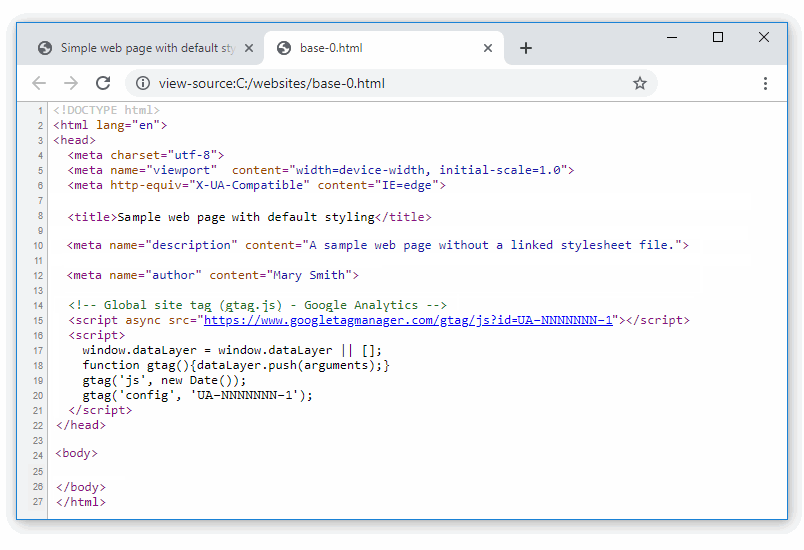
 Your web browser opens a new tab and displays the source code of your web page.
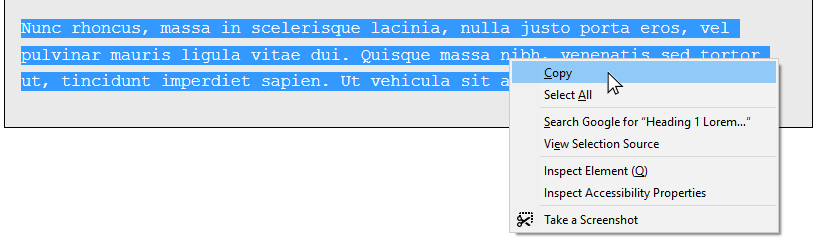
In this section, you will copy-and-paste some text content to the <body> of your web page.
Heading 1
Lorem ipsum dolor sit amet, consectetur adipiscing elit. Ut in ipsum at risus feugiat facilisis at et orci.
Heading 2
Donec ut leo eget risus mattis mattis non vitae massa. Suspendisse potenti. Aenean efficitur fermentum orci ac blandit. Quisque tempus tincidunt metus at interdum. Aenean elementum vehicula tellus id gravida. Aenean mollis sollicitudin elit.
Morbi eu ipsum sed nunc porta posuere. Donec et mi accumsan, eleifend augue ac, pellentesque risus. Maecenas in egestas dolor, vitae consequat dui.
Heading 3
Ut quis rhoncus lorem. Duis mauris arcu, luctus et velit eu, luctus rutrum magna. Morbi volutpat bibendum libero sed pellentesque. Maecenas eu scelerisque mauris. Morbi eu ipsum sed nunc porta posuere. Donec et mi accumsan, eleifend augue ac, pellentesque risus.
Heading 3
Pellentesque non dignissim tellus. Suspendisse potenti. Ut convallis euismod quam non luctus. Etiam vel sapien at sem elementum tempor eget at dolor. Integer et fringilla dolor. Duis velit turpis, faucibus id lorem a, eleifend pellentesque nisi.
Nunc rhoncus, massa in scelerisque lacinia, nulla justo porta eros, vel pulvinar mauris ligula vitae dui. Quisque massa nibh, venenatis sed tortor ut, tincidunt imperdiet sapien. Ut vehicula sit amet orci non sollicitudin.
 Now, paste the copied text.
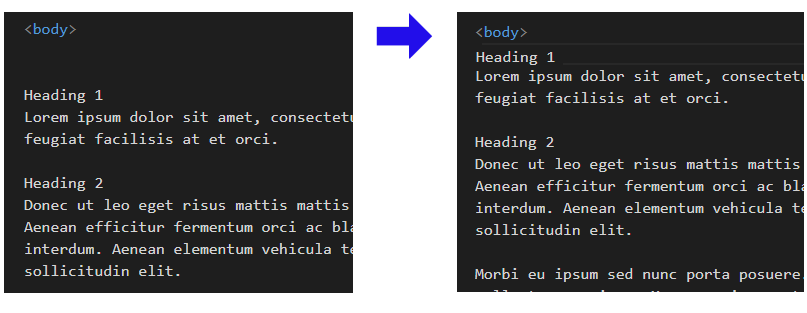
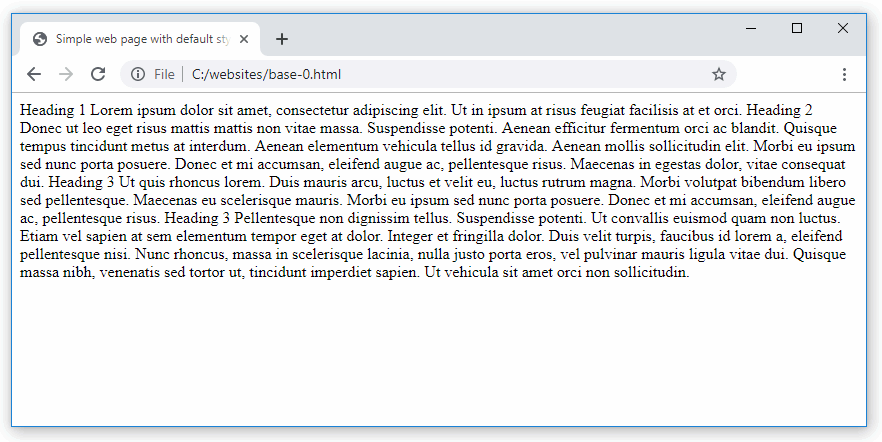 This is because the content is not marked up with HTML tags.
Now you will mark-up the text of your web page with the following HTML tags: <h1>, <h2>, <h3> and <p>.
<body>
  <h1>Heading 1</h1>
  <p>Lorem ipsum dolor sit amet, consectetur adipiscing elit. Ut in ipsum at risus feugiat facilisis at et orci.</p>

  <h2>Heading 2</h2>
  <p>Donec ut leo eget risus mattis mattis non vitae massa. Suspendisse potenti. Aenean efficitur fermentum orci ac blandit. Quisque tempus tincidunt metus at interdum. Aenean elementum vehicula tellus id gravida. Aenean mollis sollicitudin elit.</p>

  <p>Morbi eu ipsum sed nunc porta posuere. Donec et mi accumsan, eleifend augue ac, pellentesque risus. Maecenas in egestas dolor, vitae consequat dui.</p>

  <h3>Heading 3</h3>
  <p>Ut quis rhoncus lorem. Duis mauris arcu, luctus et velit eu, luctus rutrum magna. Morbi volutpat bibendum libero sed pellentesque. Maecenas eu scelerisque mauris. Morbi eu ipsum sed nunc porta posuere. Donec et mi accumsan, eleifend augue ac, pellentesque risus.</p>

  <h3>Heading 3</h3>
  <p>Pellentesque non dignissim tellus. Suspendisse potenti. Ut convallis euismod quam non luctus. Etiam vel sapien at sem elementum tempor eget at dolor. Integer et fringilla dolor. Duis velit turpis, faucibus id lorem a, eleifend pellentesque nisi.</p>

  <p>Nunc rhoncus, massa in scelerisque lacinia, nulla justo porta eros, vel pulvinar mauris ligula vitae dui. Quisque massa nibh, venenatis sed tortor ut, tincidunt imperdiet sapien. Ut vehicula sit amet orci non sollicitudin.</p>

</body>
Google and other search engines use software programs called spiders to crawl the web for web pages to add to their list of indexed web pages. Only web pages listed in such an index will appear in search engine results.
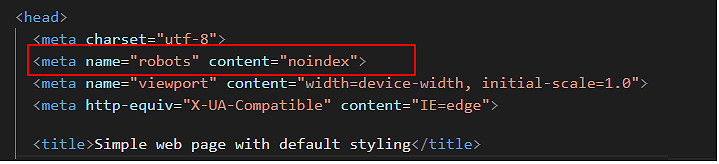
If you don't want a particular web page to be found by Google or other search engines, follow these steps:
<meta name="robots" content="noindex">You can add this anywhere within the head. Typically, it is placed just after the charset line, as shown below.
Before you validate your web page and upload it to GitHub, ensure the following details are correct within the <head> of your base-0.html file.
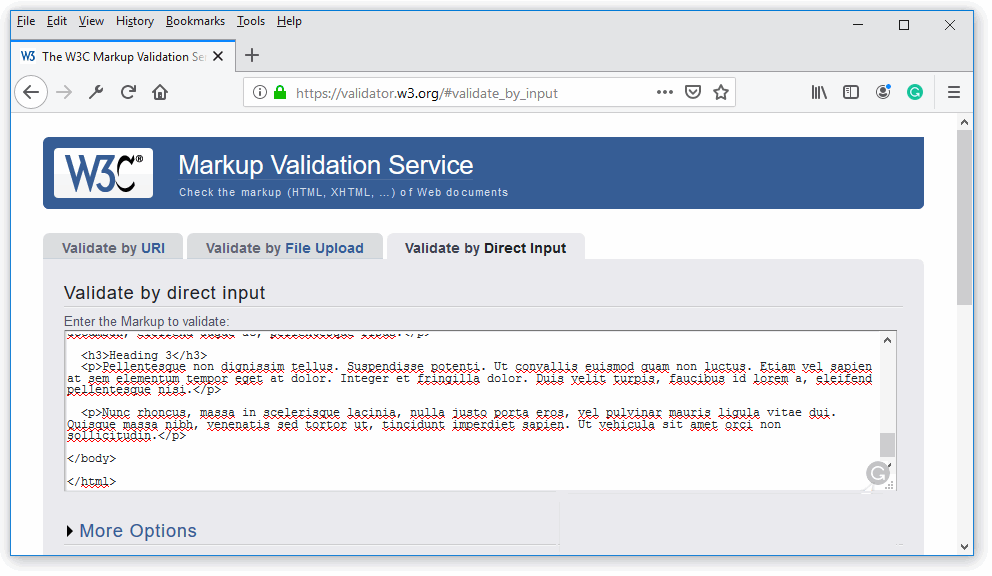
To check the HTML in your web page is correct or valid, use the official W3C Markup Validation Service as follows.

After validating your web page, you are now ready to upload it to your account on GitHub.


Your web page is now published on GitHub at a web address similar to the following, where username is the username you have chosen for your GitHub account:
https://username.github.io/base-0.html
It may take a few minutes for your uploaded file to appear on GitHub.
Basic web pages
From Interneting is Hard
HTML introduction – anatomy of a web page
By John Espirian at the John Espirian Blog
Tutorial: HTML for absolute beginners
By Luke Fabish at the Luke Fabish Blog
Return to Contents.